Showing posts with label D.I.Y.. Show all posts

Wednesday, July 21, 2010

Real Before and After Pictures - My New Office


Did you like the before and after pictures I posted earlier today? 

I love cracking myself up, often left alone to laugh at my own jokes.  He, he, he.

Here are the real before and after pictures of my new office, our new painted walls, and newly refinished hard wood floors.  What do you think?

Before 
After... 
Living Room
A place to put on shoes
Dinning Room
Hallway
Walking into my office, off the living room
A place to sit and think
This picture is titled "She was always prepared for what she suspected might be just around the corner" by Lisa Kattenbraker
Here are the pull down blinds for the french doors --will hang soon.  This will help give privacy like I mentioned in "Create a Space that Works for You".
My HUGE work space!
More storage
I love adding details like this to spaces, details that help the space shine just a hint more than it would without them.
More details
More storage and organization
When creating a space that works for you, think about how you can hide practical pieces like this functional, magnetic curtain rod, which is being used to hold my quilt tops.
The french doors look into the living room
I might need to lock you all out now, I have a lot of work to get done ;)

To see more, follow these links to see our home's exterior, our back yard, Monet's bedroom and our bathroom.

Thanks for taking a tour through our newly renovated home.  What do you think?  

Wednesday, April 28, 2010

Machine Applique Tutorial - Freezer Paper Method

If you love to sew, you should know how to applique.  There are so many wonderful projects out there that ask you to "use your favorite method of applique".  Today, I'm going to share with you one method that I use.  I'm also going to link you to some other sites where additional applique projects and instructions can be found.

Applique, like many skills, takes practice and patience.  I would start by making a few simple shapes, and then progress to more difficult ones.  Buttons, rickrack, and embroidery thread are great tools in adding small details to your applique images.

And for your first project, why don't you give my Art Inspired Applique Quilt pattern a try.  
It's now available in my Etsy shop.  

(15% off if you mention that you follow this blog in the message to the seller)


Let's begin...

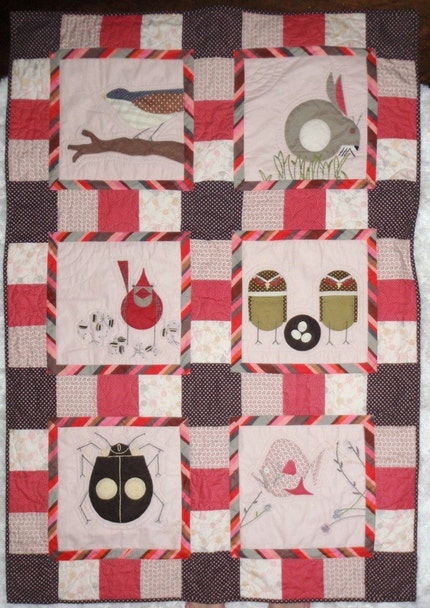
Today I'm going to make an appliquéd quilt block with you.

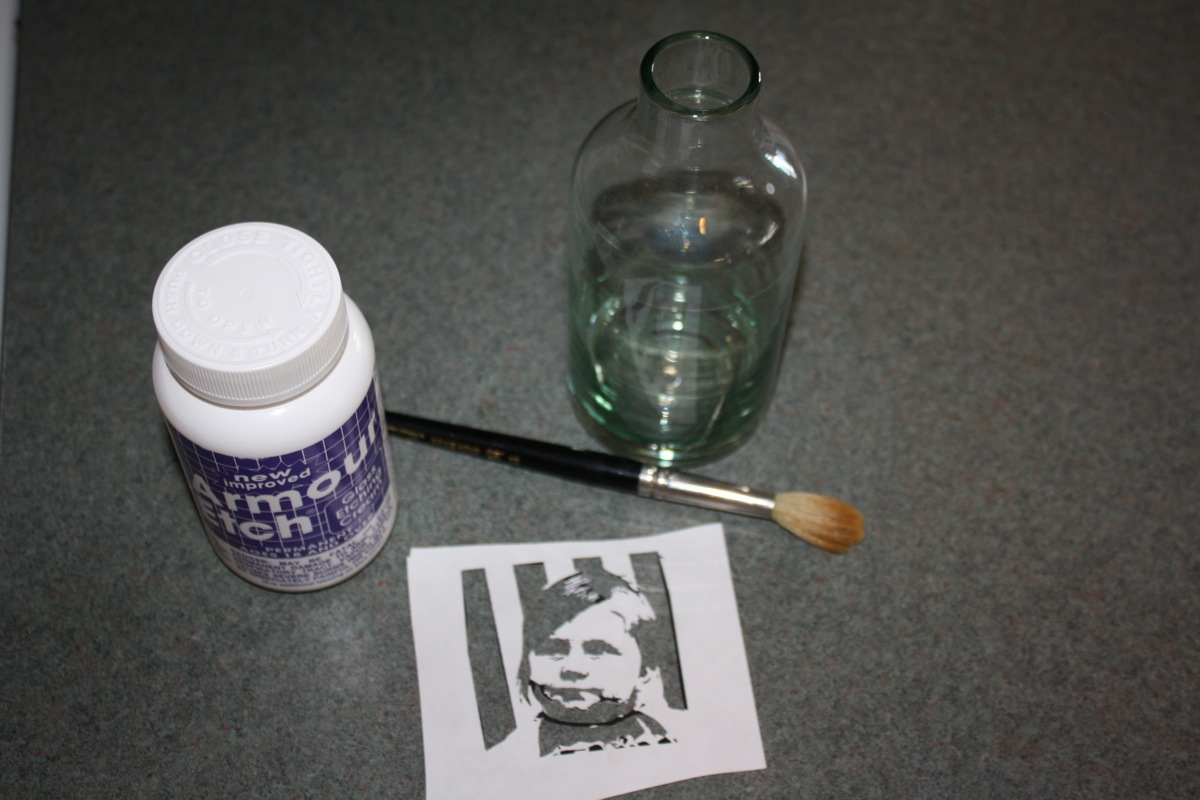
Step 1:  Find or draw a picture that you wish to recreate using applique.  Make sure you consider the size.  I often use a copier to make the image larger or smaller based on my needs.

Step 2:  Trace the pieces of the picture that you need to create in applique on the glossy side of some freezer paper with a fine tip sharpie marker.  For the image I'm doing, I traced a circle for the mother's head and the body of the mother.

Step 3:  Cut the shapes out and iron down the glossy side of the freezer paper to the back side of the fabric.

Step 4:  Cut around the freezer paper image, leaving about 1/4 - 3/8 of an inch border of fabric.

Step 5:  Using a fabric glue stick, preferably water soluble, rub a small amount of glue around the image on both the freezer paper and the fabric border.  Fold over the fabric so that it is glued to the freezer paper and so that all your edges are no longer "raw".

Step 6:  Repeat step 5 for all your pieces.

Step 7:  This is optional... if your shape has shapes within a shape, you can simply add a piece of fabric, raw edges and all, behind the original shape to add a multi-layer affect.

Just cut around the added piece of fabric so that it's raw edges are tucked under the top layer of fabric.  I used a small bead of water soluble basting glue to adhere the two fabrics together.  Sewing pins could also work.

Lastly, I tucked the raw edge of the baby's back under with a little dot of glue.

Step 8:  Set your sewing machine to the zig zag setting, length and width set at about 1.  Bond the applique images to your fabric block with water soluble basting glue or sewing pins.

Step 9:  Carefully and slowly, sew around both the inside and the outside edges of the shape you originally made with freezer paper, knotting off the strings once you get completely around the image.  Your zig zag stitch should go inside the image, then outside, then inside, then outside, etc.

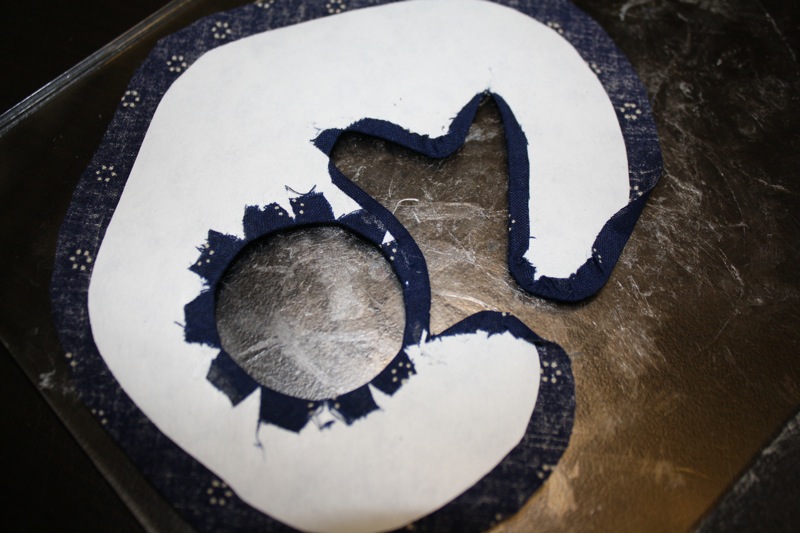
Step 10:  Once your applique pieces are securely sewn down, spray both the front and the back of the fabric block with water.  This loosens the water soluble glue so that the freezer paper can come out.  Very carefully cut the back outer fabric till you see the freezer paper.  Warning, be careful not to cut through the applique piece and stay at least a quarter inch away from the sewn seam.

Step 11:  When you're finished cutting out the back fabric, it should look something like this.  Now carefully pull the freezer paper away from the sewn seam and discard.  

You've finished the head. 

Step 12:   Now move on to the mother's body, repeating the before mentioned step and realizing that you will cut through two layers of fabric before getting to the freezer paper for the mom's body.  Be very careful NOT to cut through the baby's body.

Step 13:  Continue cutting out the back fabrics, it should look something like this.  Now carefully pull the freezer paper away from the sewn seam and discard.  Once all the freezer paper has been removed, neatly iron the seam allowance down.  Now turn it over...  


Congratulation!  You're all finished!

For more help on different methods of applique, plus additional projects, you can check out 

Please let me know if you have any questions or suggestions of better techniques.

What are you going to create?  

If you finish a project, inspired by this post, would you please leave me a comment linking to your project.  I would love to take a peak see!  

Happy sewing!

Friday, April 9, 2010

A Simple Afternoon Craft Project: Etched Glass

If your looking for a simple project that yields quick and easy results, I would suggest that you try your hand at etching glass.


Step 1:  Gather your supplies.

Etching Paste (found at many craft stores)

A brush

A stencil with adhesive backing (I used sticker paper you can put through a printer and used a picture of my daughter Monet as the stencil, then I simply cut out the shapes with an X-acto knife.  Contact paper also works well.  Many stencils and silhouettes can also be found online if you don't want to bother with making your own design.  You can even find pre-cut stencils at many craft stores right by the etching paste.)

Something made of glass


Step 2:  Apply the adhesive stencil to the glass


Step 3:  Liberally apply etching cream to the open parts of the stencil.  I suggest putting on two layers.  Apply the first coat brushing up and down and the second coat going left to right to assure coverage.


Step 4:  Wait five minutes


Step 5:  Rinse thoroughly with warm water, remove the stencil and enjoy.

Please note that the etching paste is toxic and precautions should be taken to keep it off of your skin and away from your eyes.  You might also want to put down some newspaper to catch any spills.  Read all directions and warnings on the bottle of etching paste before you begin.

Other Projects:


- Joshua Flicker

Friday, April 2, 2010

I'm Busting My Stash Up This Month and Going Green


Hey look, that's me.  What am I wearing?  Yikes!

This was my exact thought the other day when I walked past a mirror.  Nine months ago I had a baby, and since my pregnancy weight has come off, all my clothes have been too big; they look terribly frumpy on me.  I could of course run out to the stores and buy more clothes, I do love to shop, but this month I'm saying no and I'm taking a challenge

This month, I'm making a vow to think about our lovely earth more.  Instead of always responding to my needs by buying, I want to further instill in myself good habits; I'm going to eat, think, craft, and execute, on a consistent basis, words like reuse, organic, reduce, repurpose, and recycle!

What started all this?  Scoutie Girl, along with some other amazing bloggers!  They have introduced a challenge called "April Stash Bust".  The challenge they put out there is this, all crafters, big and small, instead of buying new supplies this month, only use what supplies you have stashed away.  I'm taking this vow as an artists, and also applying this idea to my personal life.  I'm not a wasteful person by any means, yet at the same time I think we all have room for improvement when it comes to really important issues like this.  

So let's get back to my problem.  Remember, the problem with the frumpy sweater?

With just a little bit of work, I can make this sweater adorable.  Here's what I did...

Step 1:  I added an applique flower to the front of the sweater.

Step 2:  I pinned the sweater to fit.

Step 3:  I cut off the buttons and sewed where I pinned, altering the sweater.

Step 4:  I cut out the excess sweater material.

That was it.  It only took about 30 minutes.  What do you think of the results?


Please join me and make a statement to our Earth this month.  What could you do, big or small, to help lessen your impact?

LinkWithin

Related Posts with Thumbnails