
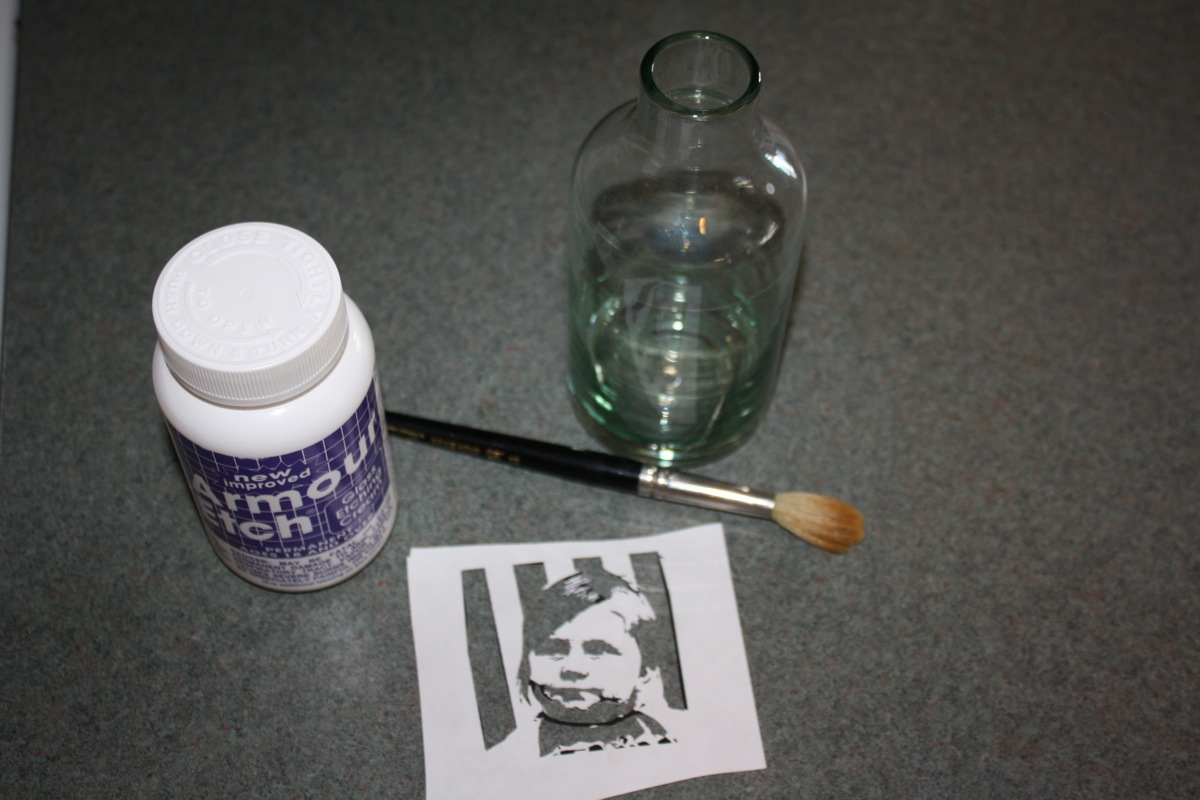
Step 1: Gather your supplies.
Etching Paste (found at many craft stores)
A brush
A stencil with adhesive backing (I used sticker paper you can put through a printer and used a picture of my daughter Monet as the stencil, then I simply cut out the shapes with an X-acto knife. Contact paper also works well. Many stencils and silhouettes can also be found online if you don't want to bother with making your own design. You can even find pre-cut stencils at many craft stores right by the etching paste.)
Something made of glass

Step 2: Apply the adhesive stencil to the glass

Step 3: Liberally apply etching cream to the open parts of the stencil. I suggest putting on two layers. Apply the first coat brushing up and down and the second coat going left to right to assure coverage.

Step 4: Wait five minutes

Step 5: Rinse thoroughly with warm water, remove the stencil and enjoy.
Please note that the etching paste is toxic and precautions should be taken to keep it off of your skin and away from your eyes. You might also want to put down some newspaper to catch any spills. Read all directions and warnings on the bottle of etching paste before you begin.
Other Projects:


- Joshua Flicker


3 comments:
Awesome! Thank you for a fantastic gift idea!
Cool, cool, cool! I love the photo idea...
Thanks ladies. We would love to see the results when your finished.
Post a Comment